Camera and Lens Configuration
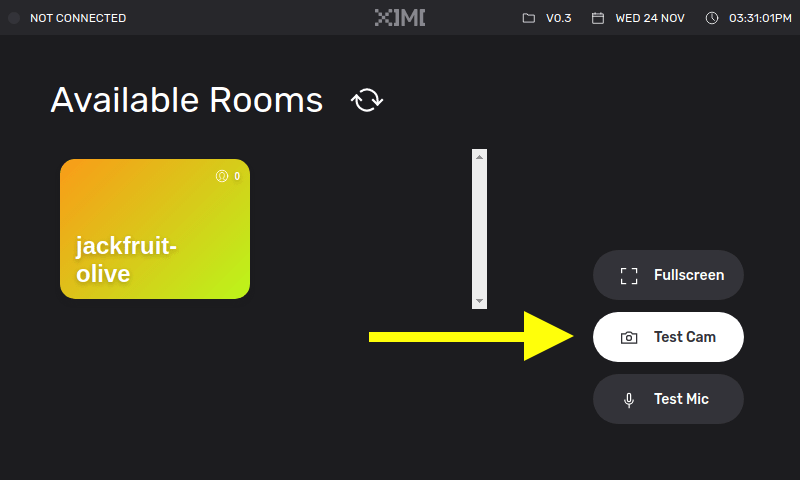
Testing your camera#
First, remove the lens cap from the XIMI camera module.
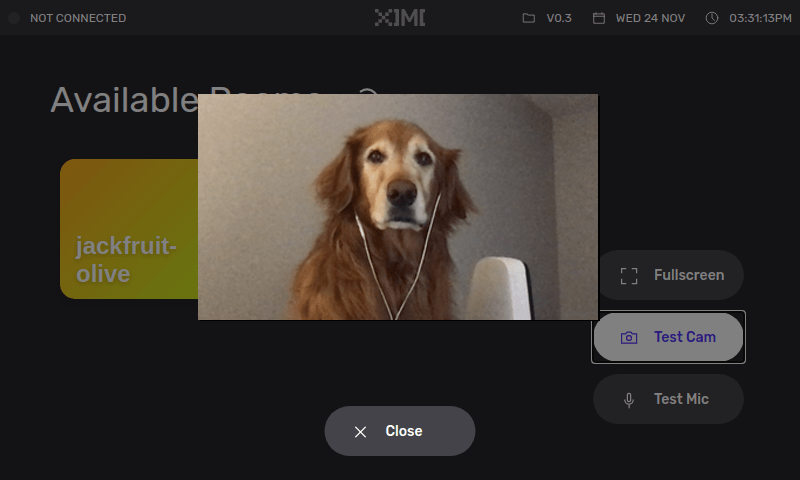
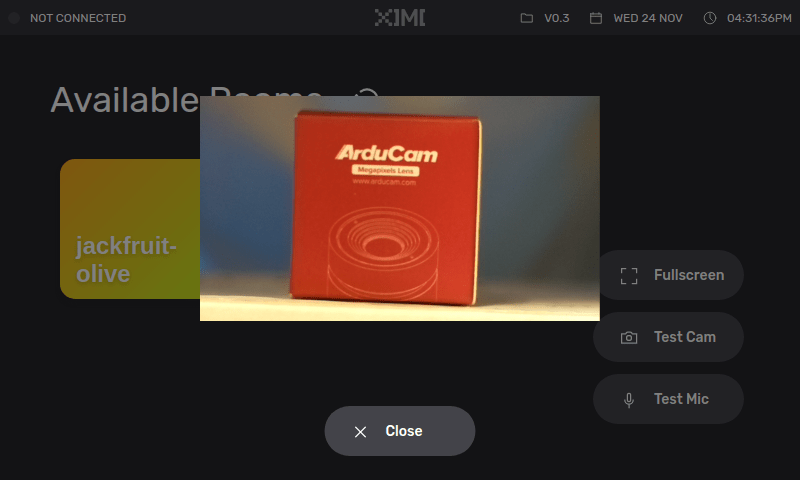
To test your camera, tap on the Test Cam button. You should see the image your camera is currently capturing.
Lens Adjustment: Exposure and Focus#
If you see a blank image, ensure that the lens cap is taken off. If the image is still blank, consider this troubleshooting solution: Camera fails to turn on after OS upgrade.
The camera lens should come with two dials: one for focusing, and one for controlling the brightness. Due to the complexity of how the lens work, it is recommended to follow through the next set of instructions step-by-step to avoid confusion.
Here is a reference image for the instructions below. Take note that there are 3 sections labelled #1, #2, and #3. We will use these numbers to guide you through the setup below.

Note: If your unit do not have any extended pins (image below), please contact us here.
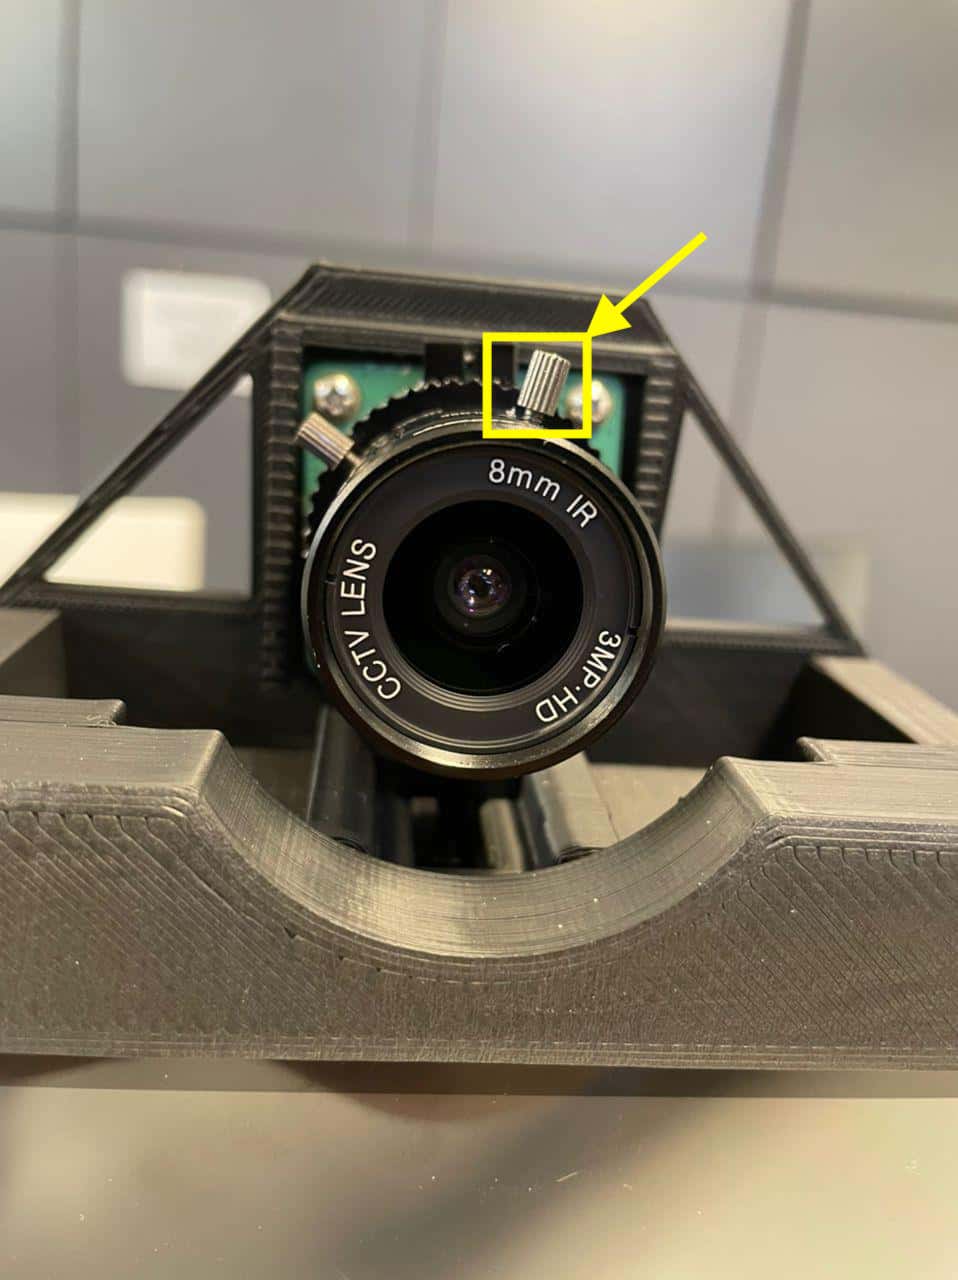
If your unit have only 1 extended pin, you can use it to lock the exposure dial, as it is preferable to lock the exposure dial to make it easier to rotate the focus dial. If your pin is at #3, remove and insert the pin into the threaded hole at #2.
Note
Before adjusting the dials, ensure that all extended pins (on #2 and #3) are untightened (but not removed from the lens). This ensures that you are able to rotate the dials easily.
Brightness#
The camera lens allows you to adjust the brightness of the image.
Locate the dial at #1 and adjust to get the desired brightness you require for your performance.
Next, lock the dial in place by tightening the extended pin at #2
Note
If you find it hard to adjust the dial, try loosening the extended knob at #2 and try again.
Focus#
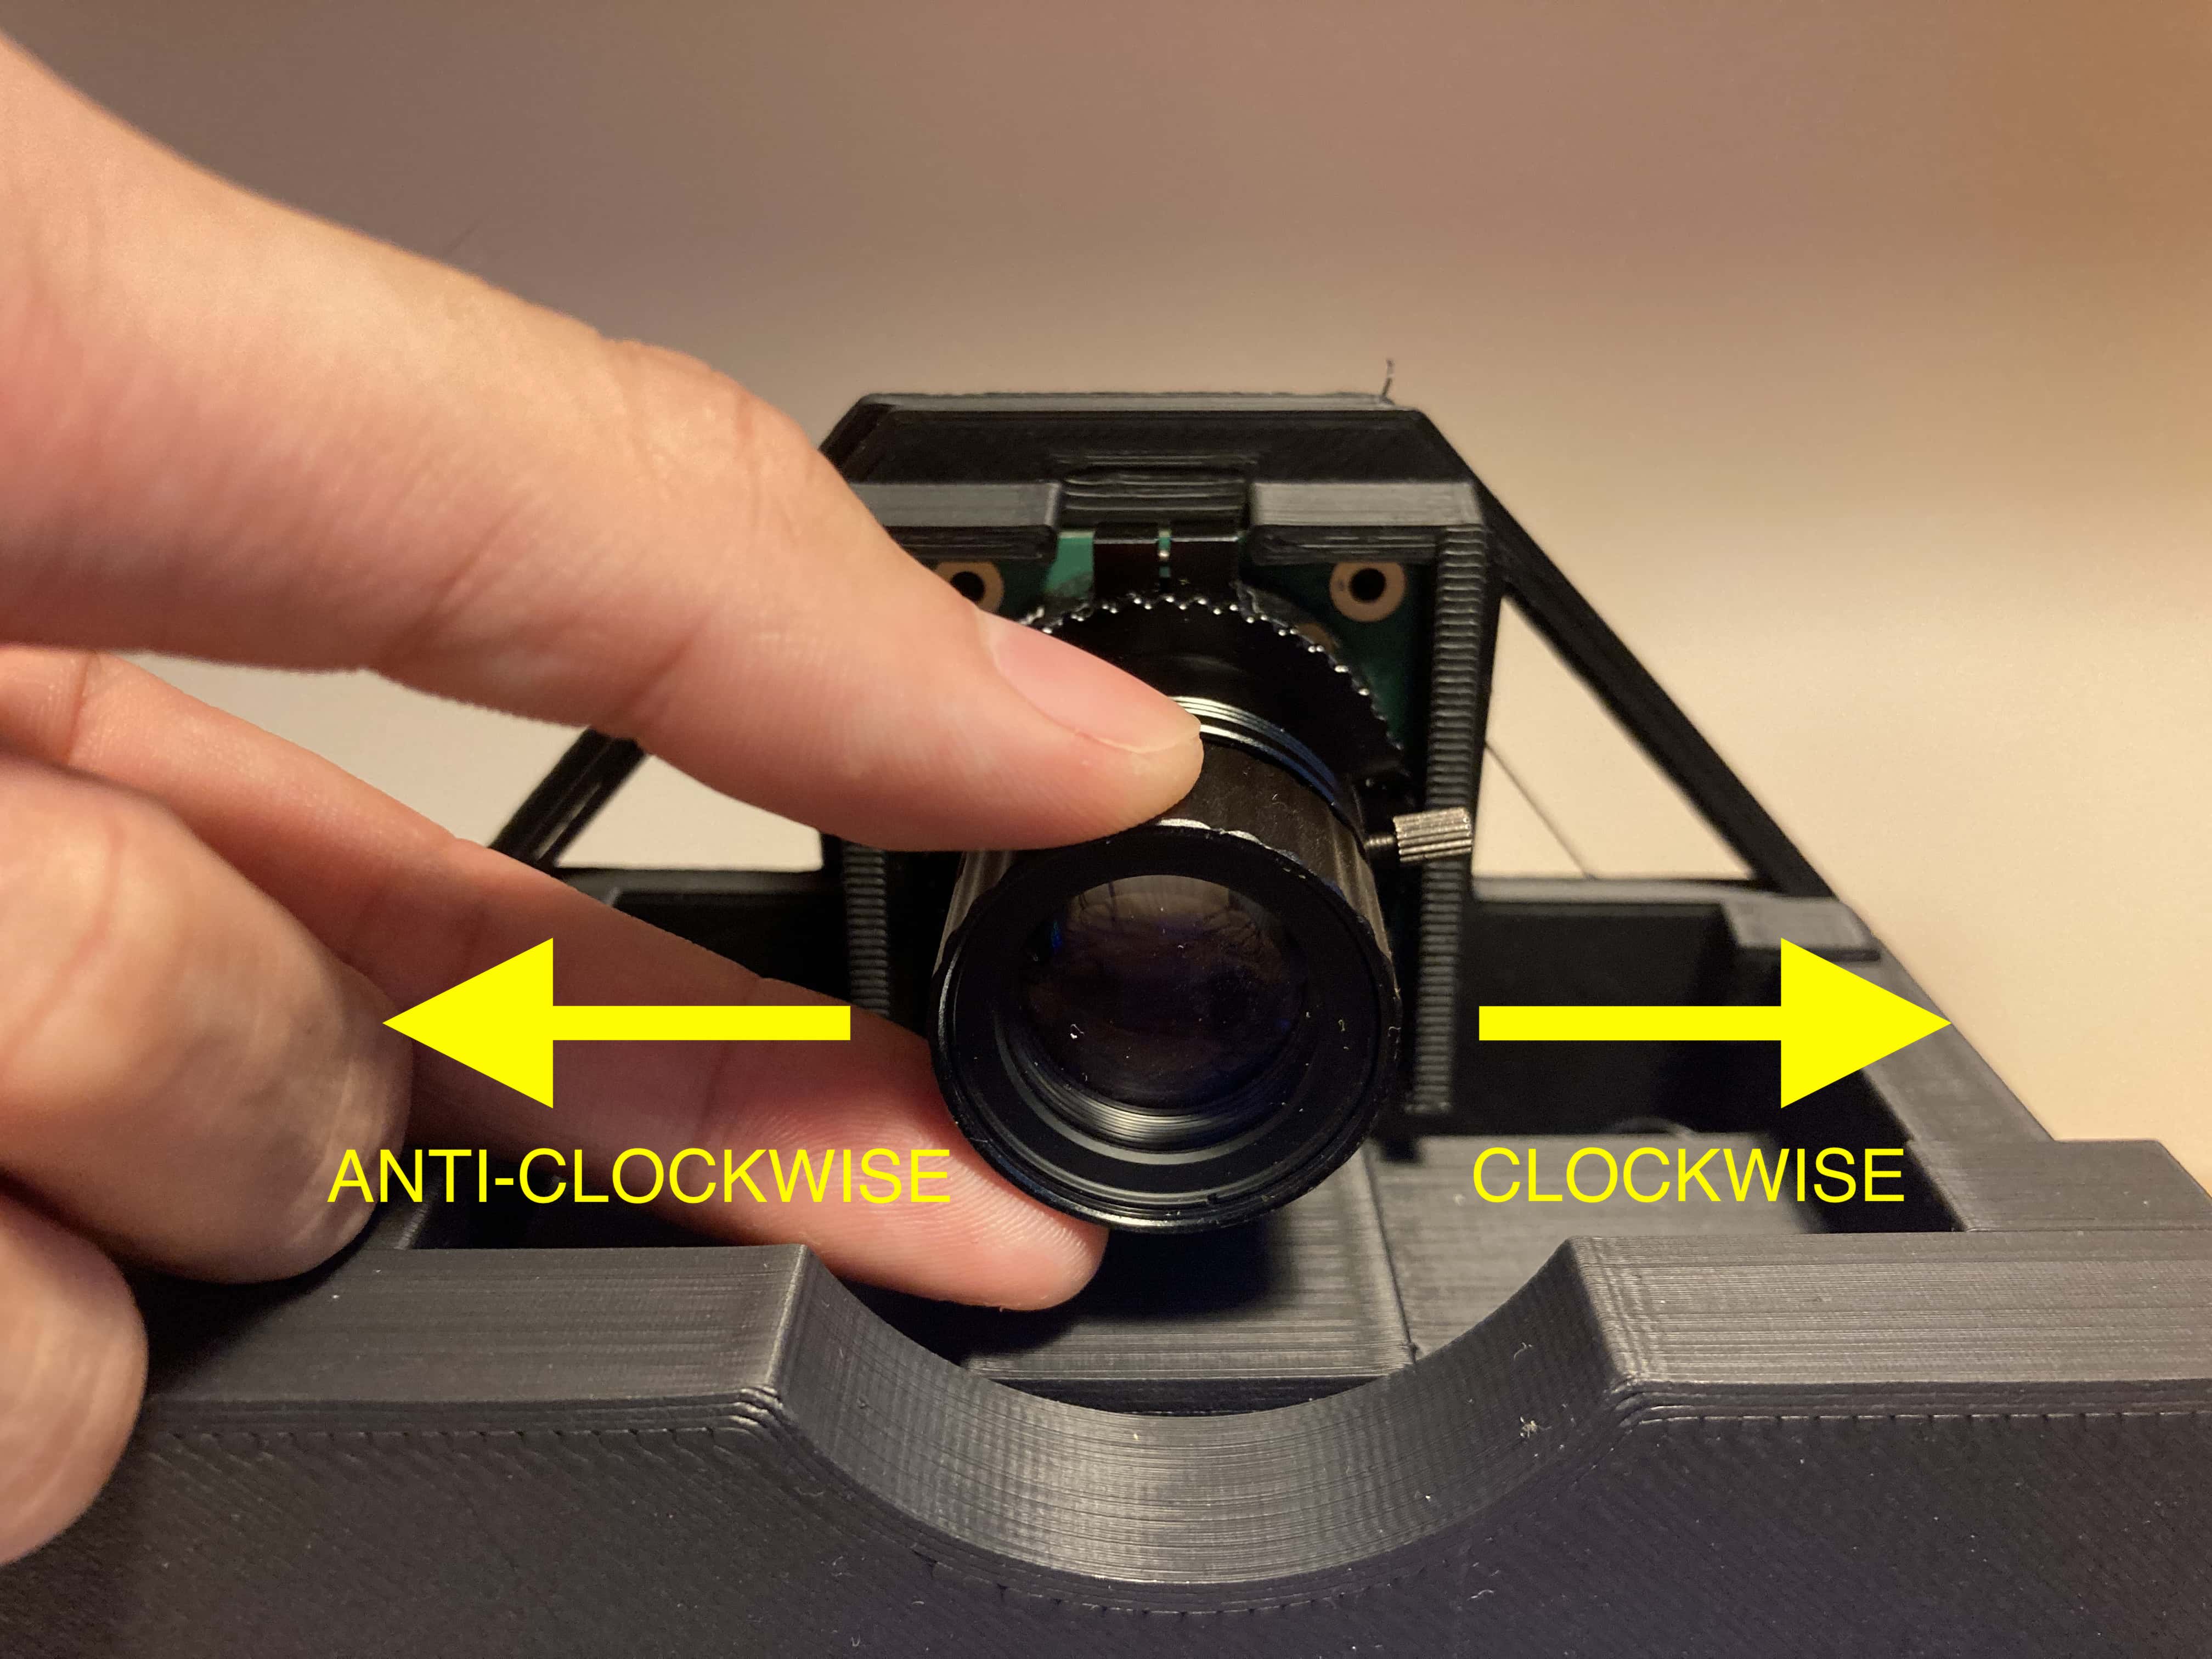
The second control on the camera lens is focus.
Note
Ensure that the brightness dial is locked before you begin focusing. #1 should be rotating together with #2 at this point. If this is not happening, please tighten the extended knob at #2. This is to ensure that you do not accidentally change the brightness. If you have not done so, please refer to the Brightness section.
Locate the dial at #2. To adjust the focus, turn the dial clockwise to focus on further objects, and anti-clockwise to focus on nearer objects. Adjust until you see a sharp image.
Next, lock the dial in place by tightening the extended pin at #3
Note
If you find it hard to adjust the dial, try loosening the extended knob at #3 and try again.
Readjusting camera brightness#
If you wish to change the brightness, simply untighten the extended pin at #2 and rotate #1
Readjusting camera focus#
If you wish to change the focus, simply untighten the extended pin at #3 and rotate #2
Warning
Never loosen the camera lens from the camera module for the sake of focusing as the lens may fall out of the device, causing damage.
If you encounter any issues with the camera lens, please go to the Troubleshooting Camera Lens page to read more.